Custom Prompts in VS Code and GitHub Copilot
In VS Code, we can use prompts for a wide range of tasks from explaining code and performing refactoring to discussing architecture or application security. Writing a good prompt takes a lot of time, which is why we want to keep the best ones stored and ready for quick use.
Default settings
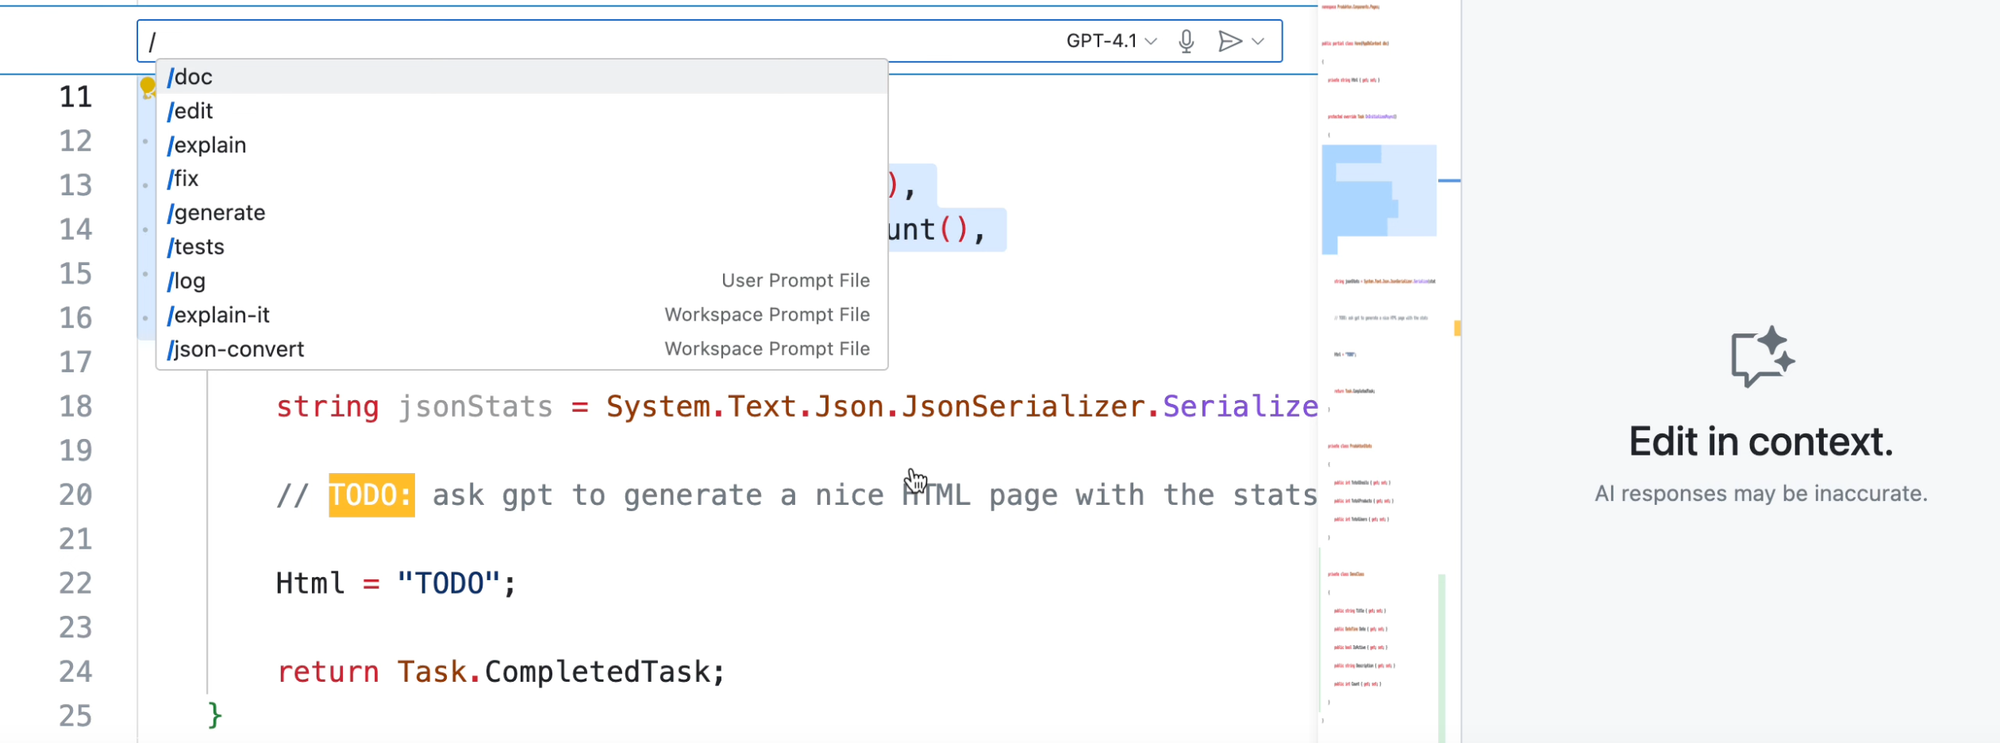
Visual Studio Code already includes several predefined prompts. Just open the inline chat (or sidebar chat), type a slash, and choose the prompt that suits your needs.
- doc
- explain
- fix
- tests
So if I select a piece of code and then choose the “explain” prompt, GitHub Copilot will explain the selected code to me.
These prompts are useful to get started, but we want to fine-tune them, so we’ll create our own, better and more efficient ones.
Set your preferred language
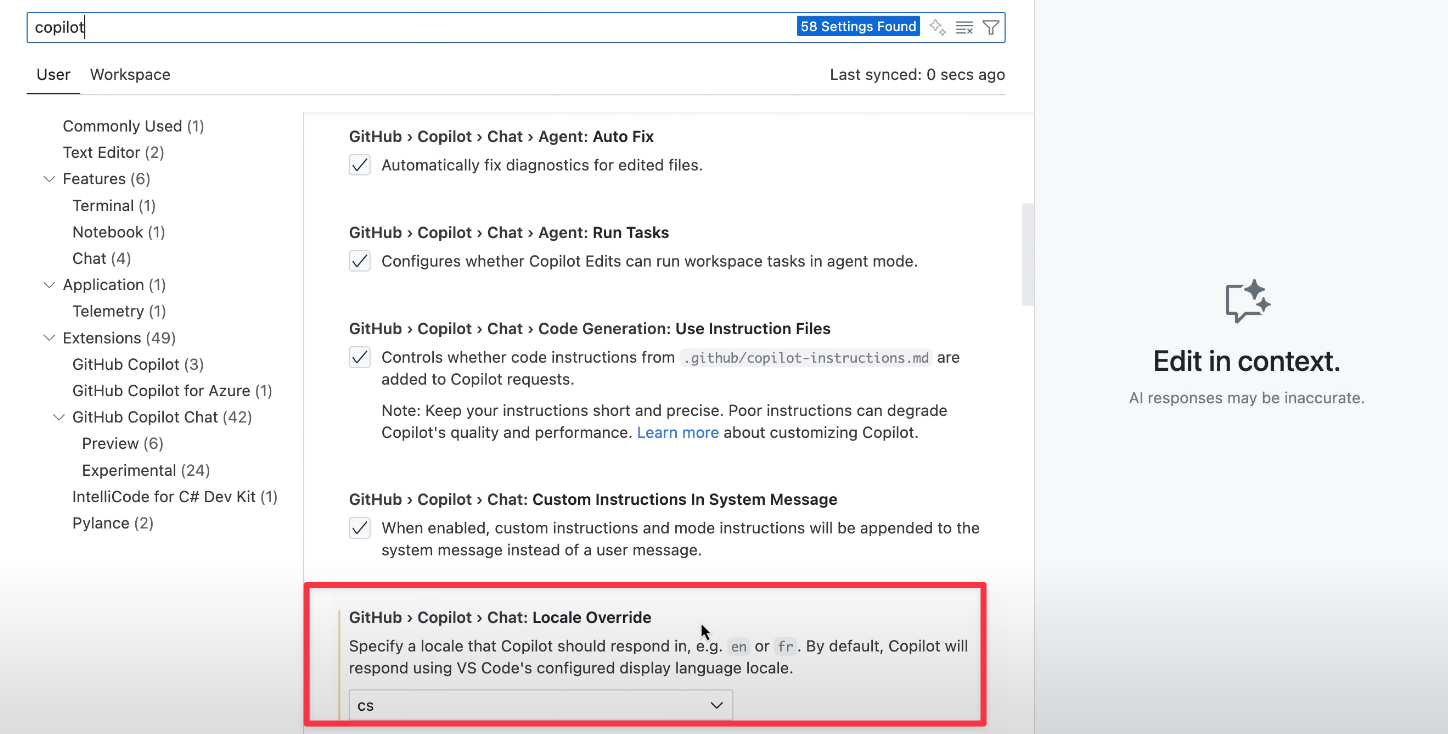
The standard language for communication with GitHub Copilot models is English. If you want to use a different native language, you can set it directly in VS Code. Click the gear icon, go to Settings, and search for Copilot. In the Local Override section, you can enter the code of your preferred language. I’ll stick with Czech.. just for fun.
How to create custom prompts
We can create two types of prompts:
- workspace prompt file - shared in team (saved in repo)
- a user prompt file - private prompt (saved in user data folder)
Workspace Prompt
Let’s say I want to create my own specific workspace prompt for code explanation. The prompt must be saved in the .github/prompts folder as a file with the prompt.md suffix. So let’s take a look at my “explain-it” prompt.
---
description: Explain the selected piece of code step by step.
mode: ask
---

**Explain the selected piece of code step by step. Assume I am an experienced developer, so there’s no need to cover fundamental concepts.**

- Write in Czech, concisely and in a structured format
- If the code contains an error or inconsistency, mention it at the beginning
- If the code revolves around a specific topic, include a link to further information
Prompt example
As you can see, it’s just a regular Markdown file with some front matter. The YAML header isn’t required, but you can use it to specify, for example, in which modes the prompt should work. The actual Markdown body contains the concrete instructions for explaining the selected code.
When I want to use my prompt, I can either open the inline chat and trigger it with a slash followed by the prompt name, or I can use the main chat window directly.
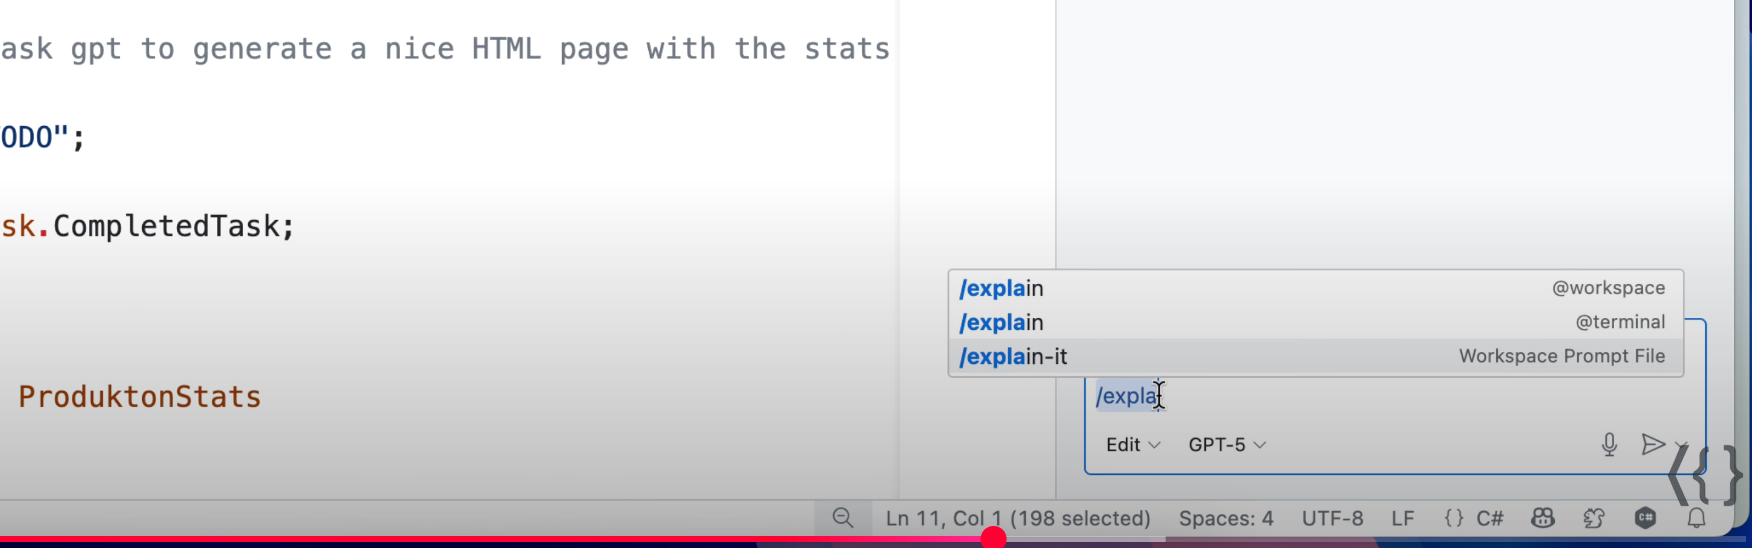
In both cases, I have the code I want to explain selected, and then I apply my custom prompt. The result is a structured answer in my preferred language.
User Prompt
The second type of prompt I mentioned earlier is a user-defined prompt. Its main advantage is that you can use it across different projects. However, it’s a private prompt and not meant for sharing. Click the gear icon, select Prompt files, then choose “new prompt file” and set the location to User Data Folder.

From there, all that’s left is to give the prompt a name, which you’ll use to trigger it. This creates a file with the prompt.md suffix and some default Markdown content. The usage is the same as in the previous example.